Monday, June 28, 2010

LEGO art


Every year our city does an arts festival for kids 3-18 yrs old. It lasts two weeks and kids can be in a musical, show choir, dance class, creative writing, arts and crafts, photography, or even a LEGO art class.

The LEGO teacher was having a baby this year and since they didn't want to cancel it, I got to teach it!

I have nearly 1000 pictures and in LEGO everything is good, but I have to put up a few to share.

A project by AJ on the "Things that Fly" day, she had named her bird Tucie.


When I was planning the class J said, "mommy, the class should have rubber bands" boy was he right. I had quite a few projects over the two weeks feature rubber bands.

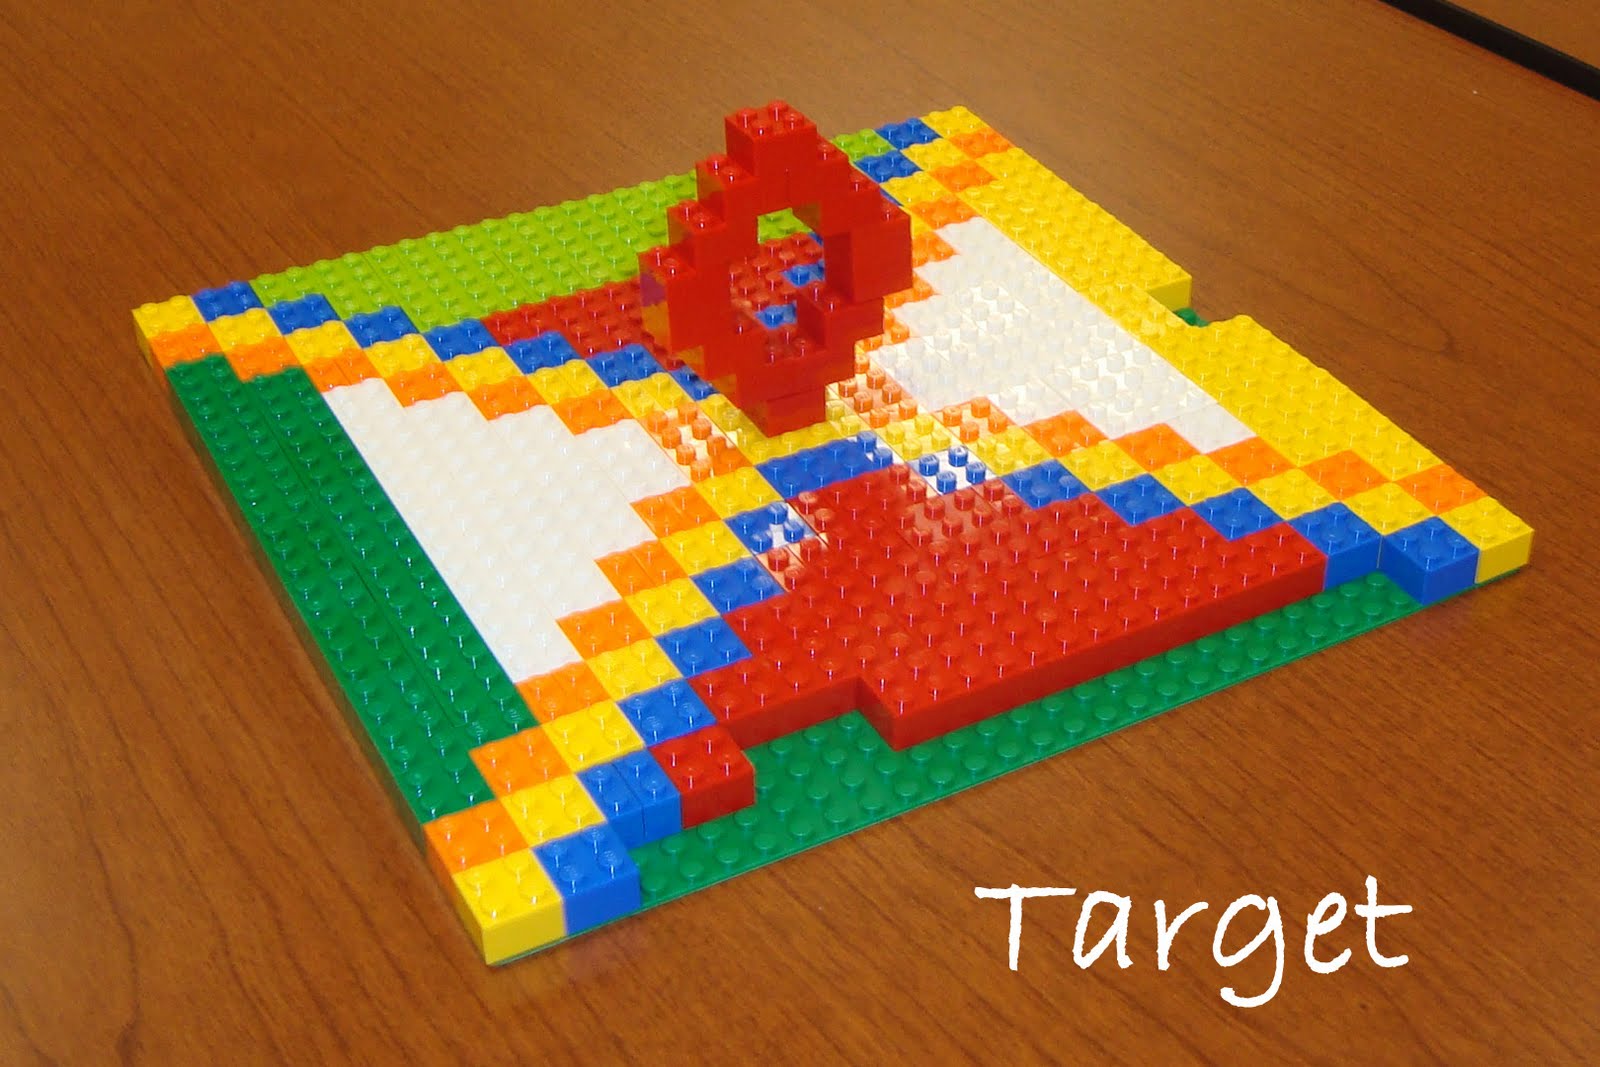
a mosaic planned with LEGO brick artist paper


"things with wheels"


"hole punch and card", a huge thanks to the author of filth wizardry blog for helping me out on this one. She pioneered hole punch and card and she was kind enough to write a note I could share in class that encouraged the kids to make one of a kind projects which they really took to heart and kept referring to throughout the rest of the festival.


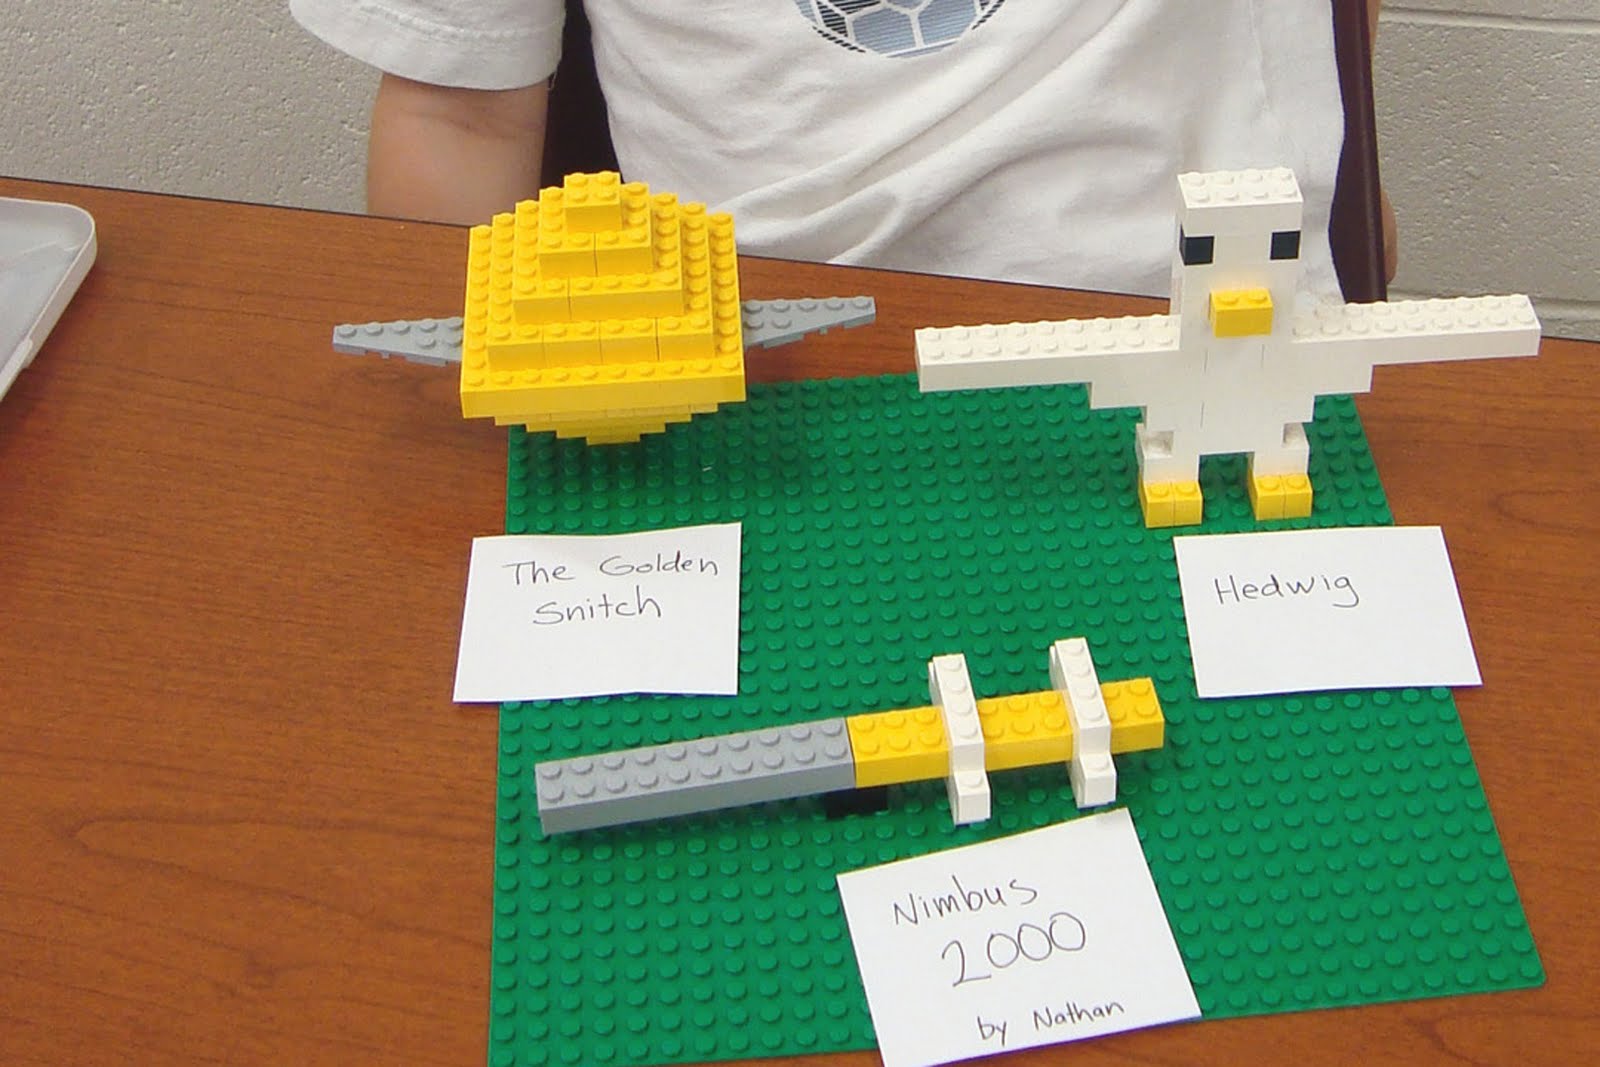
a most creative interpretation of "things that fly".


a marble maze, these were a huge hit...


**********more pics**********


Sunday, June 20, 2010

Go team USA

Soccer has always been my favorite, now I'm passing the tradition on to my kids...

Jango Fett Birthday Cake


Opening the frozen buttercream transfer

Jango Fett Cake

Two Cakes! My primary teacher is a cake decorator!

Update:
How to do a frozen butter cream transfer (FBCT)
step 1, draw your picture with a sharpie on some wax paper. You can trace an 8 1/2 x 11 picture and it fits nicely on a regular sized cake.
step 2 turn the wax paper tracing over so the frosting doesn't touch the lines you drew and place it on a cookie sheet. Then trace all the lines with chocolate frosting using a fine point cake decorating tip. Put it in the freezer.
step 3 Mix all the colors of frosting your design requires.
Since every cake I do seems to require gray I've found that gray is 1 drop red, 1 drop blue, 1 drop green. For brown just use chocolate frosting.
step 4 Pull the transfer out of the freezer and fill in all the colors. Whenever I am busy changing frosting colors I just set the transfer back in the freezer,every few minutes helps. After filling in a color use a knife or spatula to smooth out the frosting and press it down this helps fill in holes that may not be visible.
step 5 take some plain white frosting spread it on top of everything you just did, yep, cover everything (just like frosting a cake). I sometimes skip this step, but if you do it the final result is much nicer.
step 6 freeze for a few hours until it is hard. Then you can lift up the wax paper for a peek or to set on top of a cake. Make sure before setting this on a cake that the cake is cool.

This takes awhile, but has been a good family activity since the kids like to watch me mix colors and squirt all that frosting on the picture.

June 2010


Funky hair day at soccer camp

first green smoothie, lovin' it by the way.

playing with beads